React Hooks tutorial to get you started
In this tutorial, we will learn the basics of React hooks by building a recipe finder application.
The premise is straightforward, a user can type an ingredient and get 10 recipes that use the ingredient. Nice and simple.
What’s a hook?
If you are rolling your eyes 🙄, skip to the next section! 😛
According to the official docs:
A Hook is a special function that lets you “hook into” React features.So in this post, we will learn useState, useEffect and how to create our own custom hooks. We will also cover how to fetch data from an API and some HTML-form management using hooks.
But as for now, let me hook you up with some new React features.
What will you need?
Maybe a tiny bit of JavaScript and some React knowledge about props, state and event handlers.
If you are completely new to React, that’s no problem, I can wait for 5 minutes while you’re reading this great 5-minute intro to React.
The setup
Not a huge fan of complicated setups. There are as many ways to set up React apps as there are React developers, so if you have a favourite setup, feel free to use it.
For this tutorial, here’s an HTML file which imports React and ReactDOM libraries via CDN using <script> tags (see this gist for an example).
Alternatively, you can also experiment with the code in this React Scrimba playground
Our Hooks Application
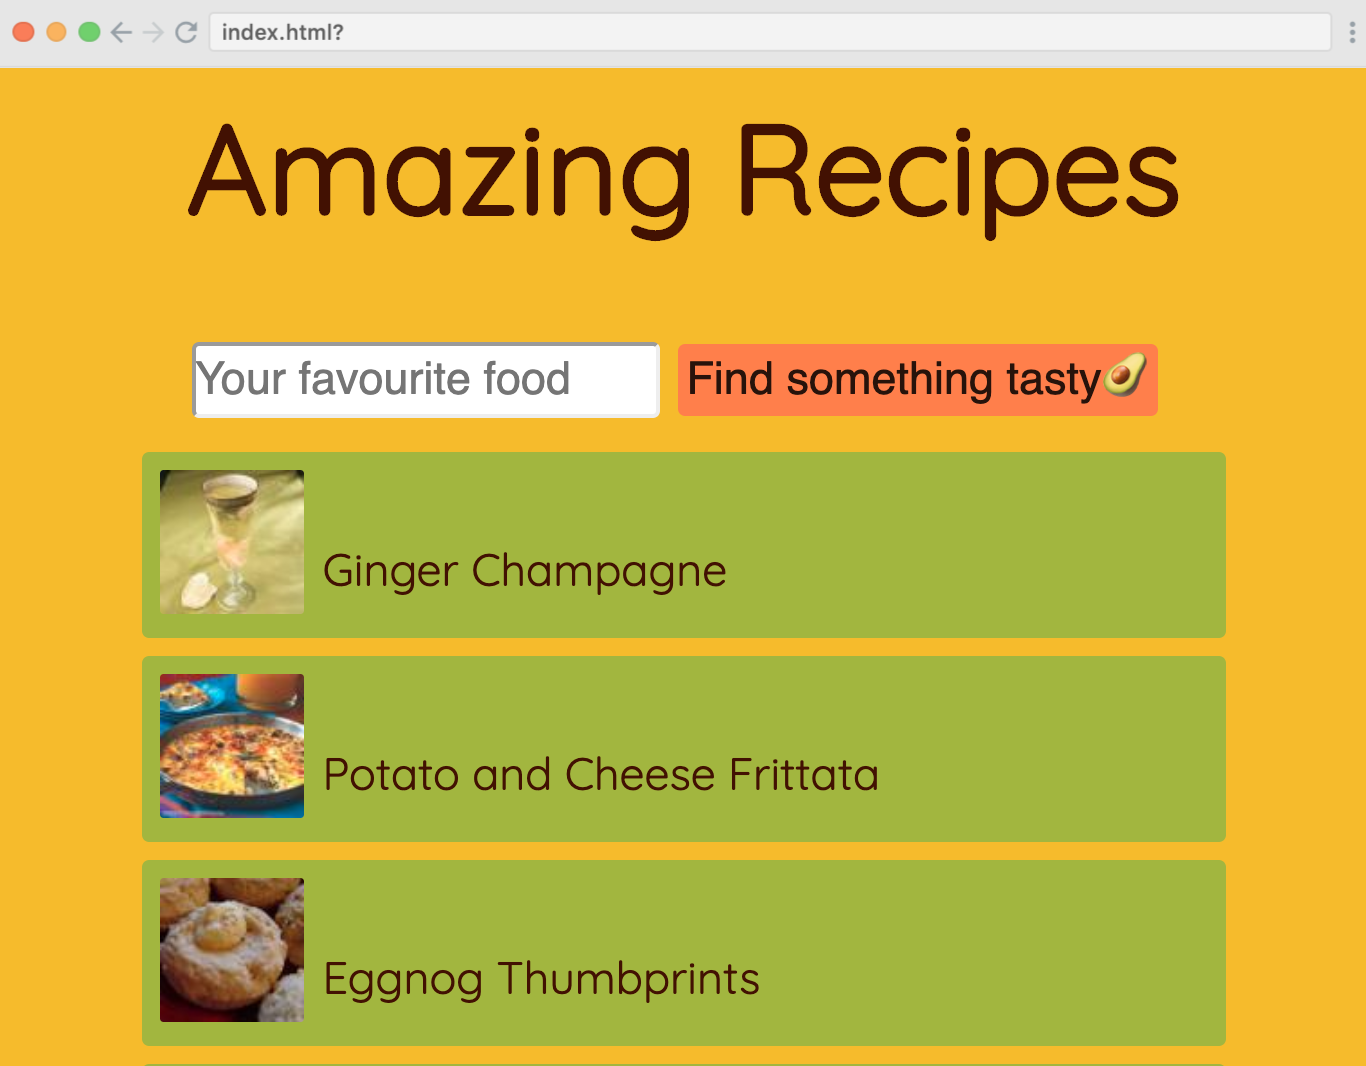
We are going to build a very simplified recipe finding app that we can use to start learning hooks. It will consist of a form with an input field and a submit button. We will fetch some recipes over Recipe Puppy API and display the results in an unordered list.

Find dinner ideas with Recipe Puppy API
To get some flavoursome ideas and to find something tasty, we will use Recipe Puppy API. Inside the <script> tag we have provided getData() helper function to fetch the recipes from the API.
For this tutorial, it’s best to think of it, like a slightly improved fetch() function and we will use it in the same way.
We didn’t really want to distract you from learning hooks, so we created this helper function do all the heavy lifting.
Read from an input field with useState hook
Let’s create a barebones layout. So far, an emoji for fun and a console.log as a tradition. Nothing overly complicated.
function App() {
    return (
        <div className="App">
            <h1>Amazing Recipes</h1>
            <input placeholder="Favourite food" onChange={(e) => console.log(e.target.value)} value="" />
            <button type="submit">
                <span>Find something tasty</span>
                <span role="img" aria-label="avocado">
                    🥑
                </span>
            </button>
        </div>
    );
}
Now we would like to store the input value. If it were a class component, we would store data in this.state. Well, with hooks, we simply useState().
useState accepts initial state and always returns a pair of values: the current state, and a function that updates it.
We can access the returned pair using array destructuring in the very beginning of our function body, like so:
function App() {
    const [ingredients, setIngredients] = React.useState('');

    return (
        <div className="App">
            <h1>Amazing Recipes</h1>
            <input placeholder="type ingredients here" onChange={(e) => console.log(e.target.value)} value="" />
            <button type="submit">
                <span>Find something tasty</span>
                <span role="img" aria-label="avocado">
                    🥑
                </span>
            </button>
        </div>
    );
}
In the snippet above, ingredients is initial value, we can use it as a value to display to our users.
setIngredients is a state update function for ingredients and can be added to events, in our case that’s onChange.
We pass an empty string "" as the initial value to useState(""), as if we wanted to simply say ingredients = ""
function App() {
    const [ingredients, setIngredients] = React.useState('');

    return (
        <div className="App">
            <h1>Amazing Recipes</h1>
            <input
                placeholder="type ingredients here"
                onChange={(e) => setIngredients(e.target.value)}
                value={ingredients}
            />
            <button type="submit">
                <span>Find something tasty</span>
                <span role="img" aria-label="avocado">
                    🥑
                </span>
            </button>
        </div>
    );
}
So on the first render of the app, it would look as if nothing changed.

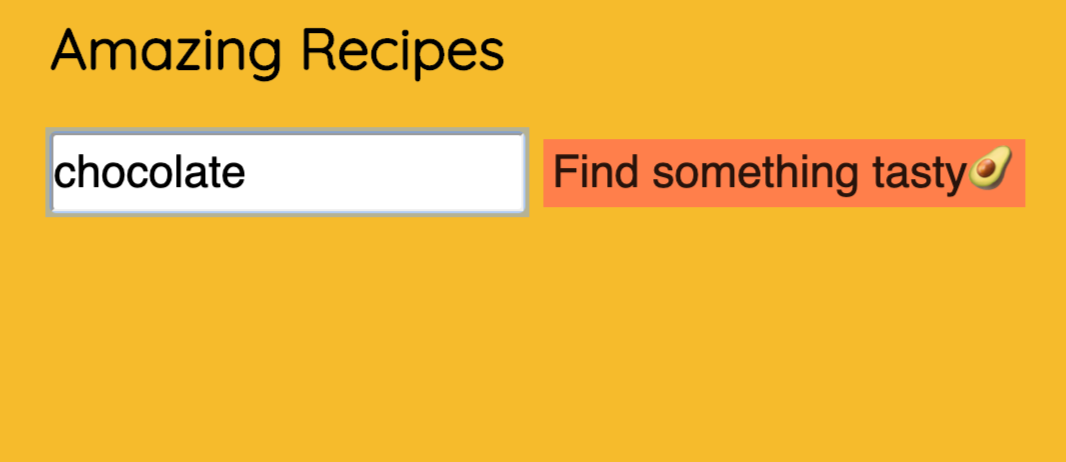
But if we type something into the input field we can see that our input gets updated as we type.

Fetch data from an API with useEffect
useEffect hook tells React that the component needs to do something after render. In our case, we want to get some recipes. To call the API, we will call getData() helper function and for now, we will pass an empty string "" to it.
We will also use another useState hook, to store our recipes.
    const [ingredients, setIngredients] = React.useState("");
    const [recipes, setRecipes] = React.useState([]);

    React.useEffect(async () => {
      const results = await getData("");
      setRecipes(results);
    }, []); *// <-- what's that? More on [] below*

    return(
        //...same JSX...
    );
Oops, we get a warning.

Luckily, the warning contains the solution and a helpful link to learn more.
useEffect(() => {
    const fetchRecipes = async () => {
        const results = await getData('');
        setRecipes(json.results);
    };
    fetchRecipes();
}, []);
You might have noticed an empty array [] as a second argument to useEffect. Why do we use it? useEffect runs after every render. If we pass some value into the array, we will ask useEffect to check if the value changed and apply the effect only if that value changed. We will do so when we pass [] we effectively say ‘Run useEffect on every render.’
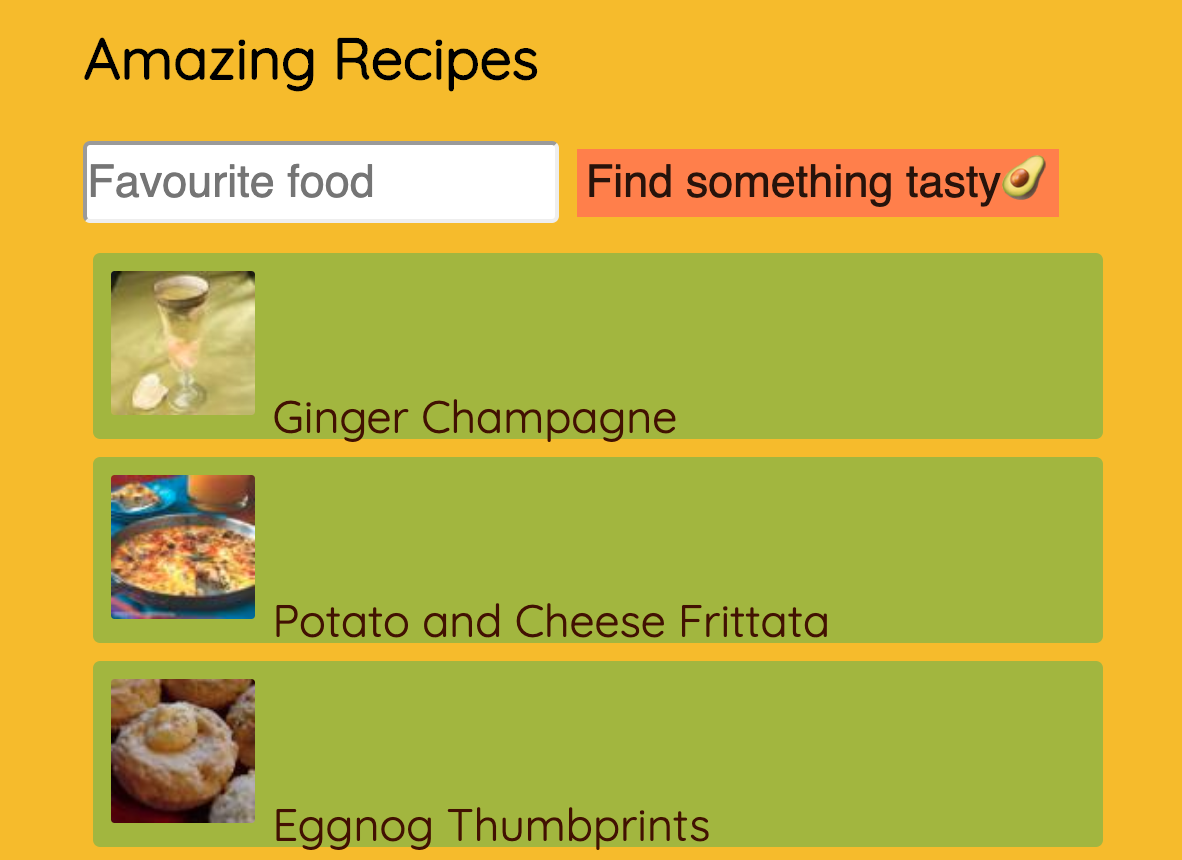
Now, with the error gone, we can render out the recipes.
return (
    <div className="App">
        <h1>Amazing Recipes</h1>
        <input
            placeholder="type ingredients here"
            onChange={(e) => setIngredients(e.target.value)}
            value={ingredients}
        />
        <button type="submit">
            <span>Find something tasty</span>
            <span role="img" aria-label="avocado">
                🥑
            </span>
        </button>
        <ul>
            {recipes.map((recipe) => (
                <li key={recipe.title}>
                    <img alt={recipe.title} src={recipe.thumbnail} />
                    <a href={recipe.href} target="_blank" rel="noopener noreferrer">
                        {recipe.title}
                    </a>
                </li>
            ))}
        </ul>
    </div>
);

// more on target="_blank" rel="noopener noreferrer"
// can be found here: [https://mathiasbynens.github.io/rel-noopener/](https://mathiasbynens.github.io/rel-noopener/)
We can use a ternary expression to render a default image if there is no thumbnail image provided by the API.
<ul>
    {recipes.map((recipe) => (
        <li key={recipe.title}>
            {recipe.thumbnail ? (
                <img alt={recipe.title} src={recipe.thumbnail} />
            ) : (
                <img alt="default-meal" src="[http://i65.tinypic.com/maateu.png](http://i65.tinypic.com/maateu.png)" />
            )}

            <a href={recipe.href} target="_blank" rel="noopener noreferrer">
                <span>{recipe.title}</span>
            </a>
        </li>
    ))}
</ul>
Trigger a hook manually to fetch data
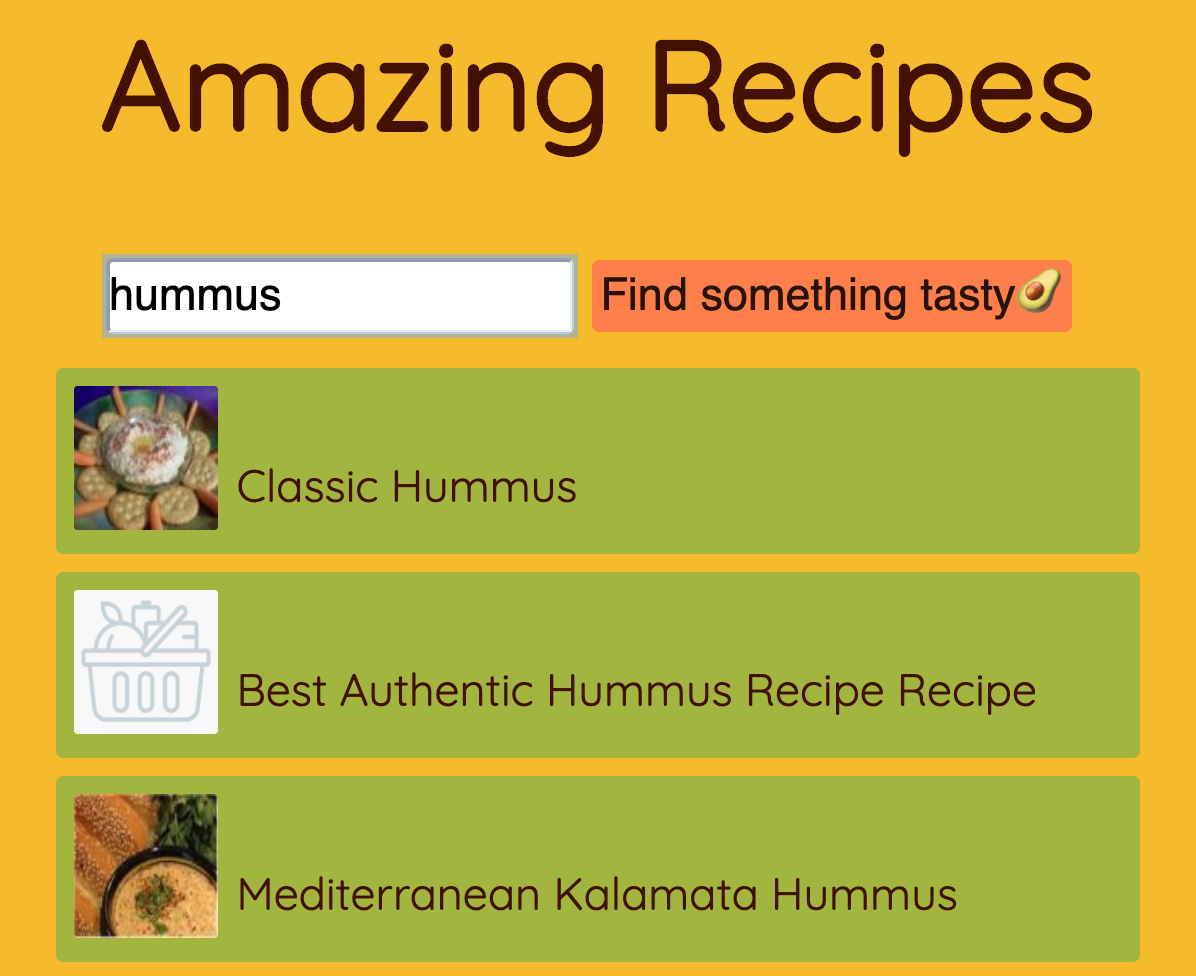
A good way of triggering a manual fetch would be with a form element. A form also makes it possible to trigger the button with “Enter” on the keyboard, which is a nice bonus.
Let’s write doFetch(). It will receive search parameters that getData() requires to call RecipePuppy API.
    const [ingredients, setIngredients] = React.useState("");
    const [recipes, setRecipes] = React.useState([]);
    const [search, setSearch] = React.useState("");

    useEffect(() => {
        const results = await getData(search);
        setRecipes(json.results);
      };
      fetchRecipes();
    }, [search]);

    const doFetch = query => {
      setSearch(query);
    };
Let’s now wrap our input and button in <form> and pass to onSubmit() event our doFetch() function, passing ingredients to it.
<form
    onSubmit={(e) => {
        doFetch(ingredients);
        // To prevent browser reloads when clicking the submit button
        e.preventDefault();
    }}
>
    <input placeholder="type ingredients here" onChange={(e) => setIngredients(e.target.value)} value={ingredients} />
    <button type="submit">Find something tasty</button>
</form>
Great, now it all works!

That’s the app done and let’s have a small refactor.
Create a custom hook
We can create our own hooks, by combining hooks that React gives us.
Let’s create our own hook by extracting search and recipes state hooks and doFetch(). We can also specify what a custom hook returns, by returning an object with variables and functions.
const useRecipePuppyApi = () => {
    const [recipes, setRecipes] = React.useState([]);
    const [search, setSearch] = React.useState('');

    useEffect(() => {
        const fetchRecipes = async () => {
            const results = await getData(search);
            setRecipes(json.results);
        };
        fetchRecipes();
    }, [search]);

    const doFetch = (query) => {
        setSearch(query);
    };

    return { recipes, doFetch };
};
Inside of our App component we do not need to change any JSX, as all that code needs are just recipes and doFetch.
    const useRecipePuppyApi = () => {
      // ...custom hook logic...
    };

    function App() {
      const [ingredients, setIngredients] = React.useState("");
      const { recipes, doFetch } = useRecipePuppyApi();

    return (
       // ...JSX is the same...
      );
    }
Now, this component is so nice and simple to read. It’s two hooks and JSX.
Congratulations. You now know the very fundamental hooks and even more importantly you also know how to create your own!
Full code
Continue learning React
I hope you’re hooked (yep, of course, there must be a pun), and you want to learn more, be sure to check out free React course on Scrimba. as I learnt most of this from there.
